Showing posts with label Nail Tutorial. Show all posts

Monday, February 9, 2015

Mani Monday: Gradient Heart

New here?  Follow us on Bloglovin'!
Valentine's Day is this weekend already!  2015 is going by unbelievably quickly already, but it's great.

I actually haven't painted my nails much recently (not at all in 2015) I thought it was time for a Valentine's mani.  Of course you guys get to learn how to do it too!


This is actually super easy, as long as you can do a gradient!


Start with a white base.  My favorite is Sinful Colors Snow Me White.  Two coats is usually needed.


Next, you'll cut a heart shape out of tape.  Stick the tape on your hand a few times to keep it from being too sticky, then place it on the nail, making sure the heart is where you want it and that there aren't any air holes.


Then, go ahead and do your gradient over that.  I did a three color gradient using a light pink, medium pink, and a red, but anything you like will do.

Add a top coat and you're done!


-Cassi

Thursday, May 29, 2014

Splatter Nail Art Tutorial

New here?  Follow us on Bloglovin'!
As promised, today we're going to share how we did our nails for the color run.  We think this look is super cool and can be used for any style.

You'll need:
-Your favorite white nail polish
-A few different acrylic paint colors
-An old toothbrush you no long use
-Clear top coat
-Plastic grocery bag


Start with a white base.  It doesn't have to be perfect- most of it will be covered up- but, you do want it to be good and opaque.

Next, pour a blob of paint on a piece of paper or your plastic bag (lay your bag flat for this part) and get a good amount on your tooth brush.  Practice flicking it on the paper like Katie does in the video.  (Sorry for the poor quality.  It was taken on my phone in the hotel room with bad lighting)


Once you've gotten good at it, go ahead and start on your nails.  Be sure to wash the brush off in between colors so you don't get any weird blends.  Just as you would for water marbling, you can take your fingers off to keep them clean, but that's totally optional.  The paint peels right off your fingers once it's dry so it wasn't a huge deal for us.

As soon as the acrylic paint is dry, add a top coat to all your nails and wash the paint off your hands.


There you have it!  If you try this yourself, we'd love to see- share it with us on Instagram by tagging @cassipolzin

Stay gorgeous
♥ Cassi & Katie ♥ 

Checkout more of our nail art and swatches here.

Tuesday, May 13, 2014

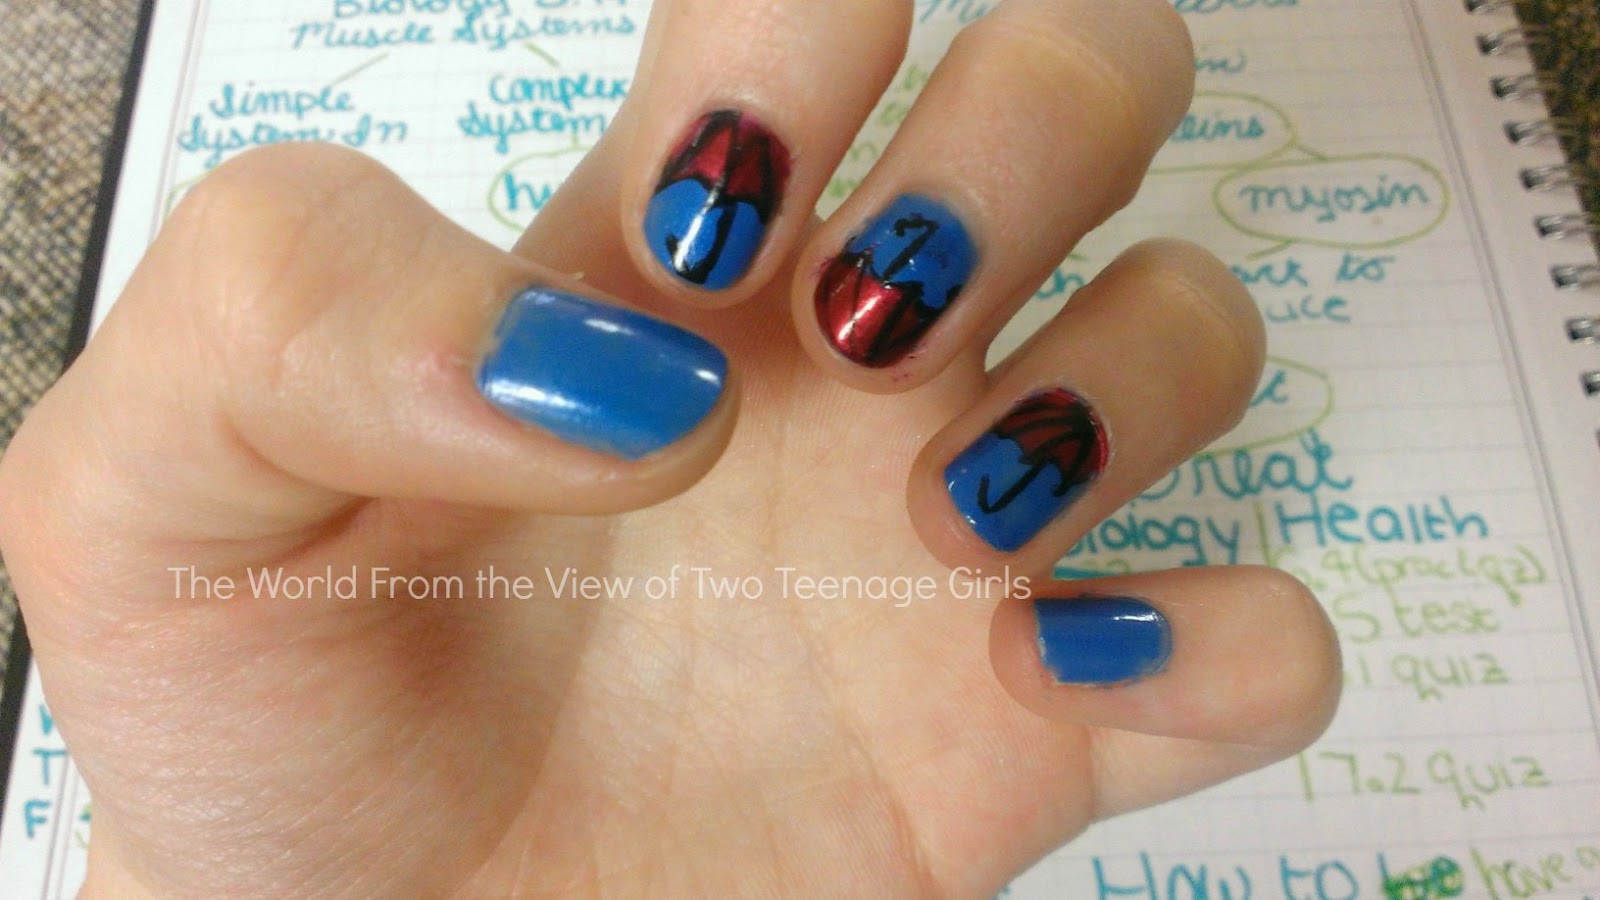
Umbrella Nails

New here?  Follow us on Bloglovin'!

Hey guys!  Today I'm over at Sarah Christine Style showing you how to do these nails.  Be sure to check out the post here.

Don't forget to enter our giveaway!

a Rafflecopter giveaway

Monday, October 15, 2012

Jack-o-Latern Nail Tutorial!

The boring fading purple form my last mani was driving me crazy!! So I pulled out my oranges, a green, a black, and a tooth pick and made this!  It currently is only on one nail lol!


What you need-
2 different oranges- 1 should be more faded and matte, and 1 should be shimmery and brighter
a green, I used a lime, but a darker forest green would probably go better
a black or yellow, I used black, but when jack-o-laterns have a candle in them, they're yellow

1. Paint the whole nail with the matte orange, then paint vertical stripes with the shimmery one


2. Using the green paint a sort of zig-zag at the top.  This might be easier if you use painters' tape.


3. Add a creative face using the black and the tooth pick!


4. Top coat!!


Here you can watch the youtube video if you would prefer:


Thanks for Reading/ Watching lol

-C

Friday, October 12, 2012

Spider Webs Nail Tutorial

So last night I finally got to Sally's and got some rhinestones so I was able to do my nails!
Here is what it looks like!


Here's what I used!

 
(I didn't use the paper with a pumpkin on it, it was just there so you didn't see as much of my desk lol)
 
1. Put a dot of purple in the corner of your nail, and do this to 2 nails, with out getting more nail polish on your brush.  Then wipe excess nail polish off your brush on the rim of the bottle and use the brush to blend the polish out.  You want it to look like it is fading, sort of ombre-ish. Do this to every nail but 1 on each hand (I did pinky and ring finger) Paint those black.
 
2.  Next use the black and paint spider webs on your thumbs.  You can use a tooth pick or dotting tool, I just used the brush because the tooth pick was a pain for me. 
 
3.  Paint a layer of glitter on every nail.
 
4.  Make sure you have your rhinestone(s) out so you can place it quickly.  Paint a layer of top coat on 1 thumb, then quickly place your rhinestone and repeat with the other thumb.  I pput my rhine stone in the corner where the center of the web would be.  Then add another layer of top coat, mainly focusing on where the rhinestone is.
 
5.  You can add top coat to the rest of your nails, or I used a couple coat of Goulish Glow.


-C


Monday, July 16, 2012

Sunday, July 15, 2012